Category: ♥Sharing is Caring♥

  • Make Beautiful Happen

    Sponsored Post

    This is my third post on Panasonic café so I guess I don’t need a lengthy introduction on Panasonic café so you can check out my previous posts (Panasonic café 1 & 2). So lets go straight to what happened at this edition of Panasonic café that took place last Friday! I’m quite amazed at how Panasonic always chooses the perfect venue for each of the Panasonic café events. This time the event took place at Marble 8, which is located in KL. There are a few reasons why I love attending Panasonic events, first is because I get to personally try out their newly launched beauty technology. Second reason is that I get to hang out with blogger friends and the last reason is because Panasonic always prepares the most exciting goodie bags for us.

    DSC08933

    First thing I did when I arrived at the event was to take pictures at the photobooth with the “Beauty Queen” quote hahaha.
    DSC08935

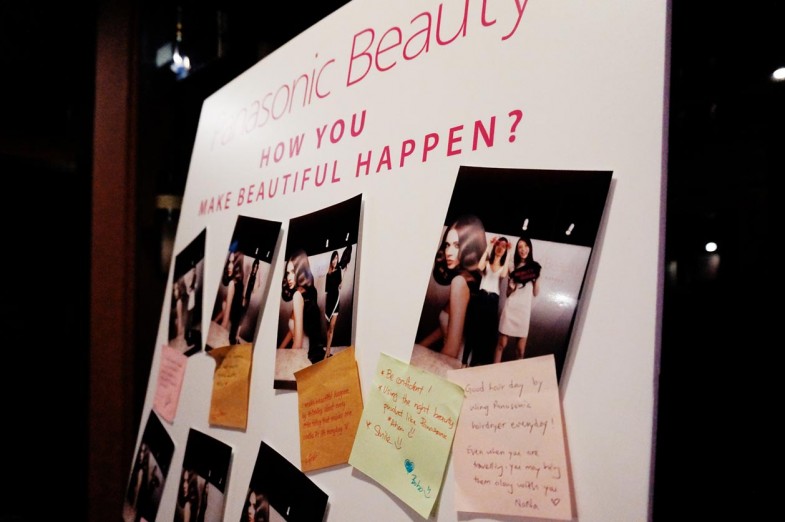
    Then this time we get to share our secret on “how you make beautiful happen?” OK la, a bit shy, but I wrote, “it’s pretty simple and straight forward, be confident, use the right beauty products and always SMILE =)”.
    DSC08936

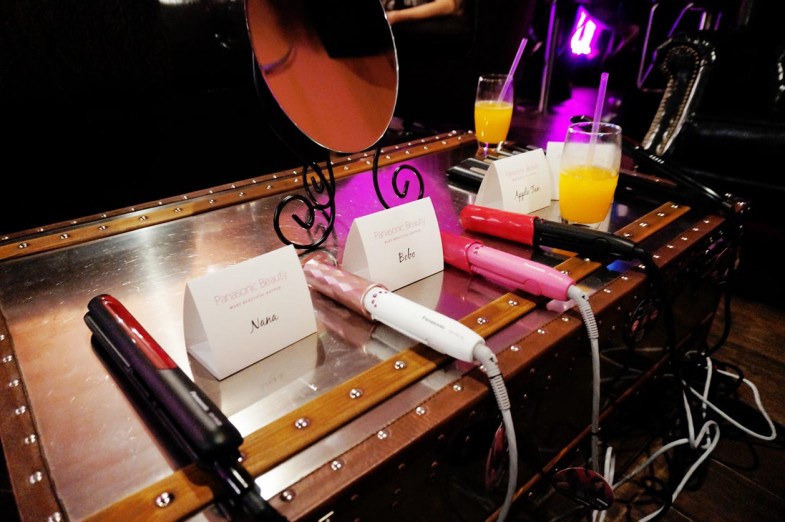
    After that, I was led to my seat that was filled with Panasonic’s NEW compact straight & curl straightener EH-HV10 and 2-WAY straight & curl straightener EH-HV20
    DSC08937

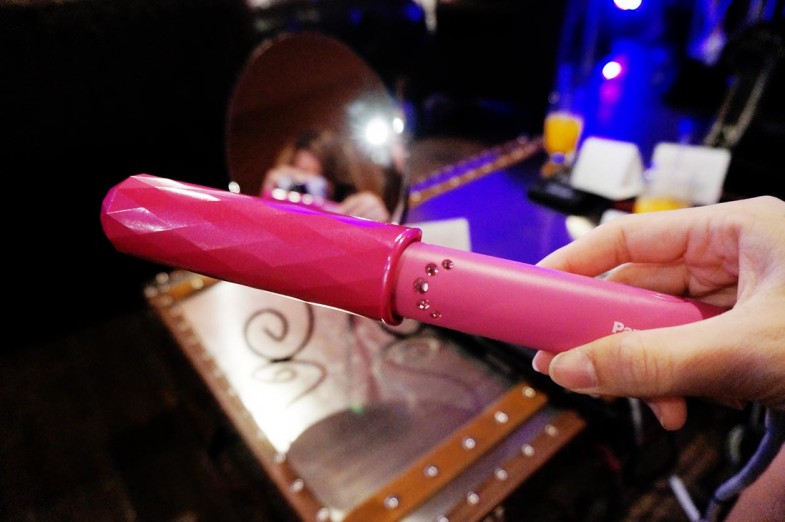
    I fell in love with the PINK EH-HV10 the moment I saw it! I love the shade of pink and the little bling design on it. The cap is perfect for easy storage and also preventing clumsy people like me to get burned by the plates.

    DSC08938

    EH-HV10 comes in 3 different color pink, white and black so pretty!
    DSC08941

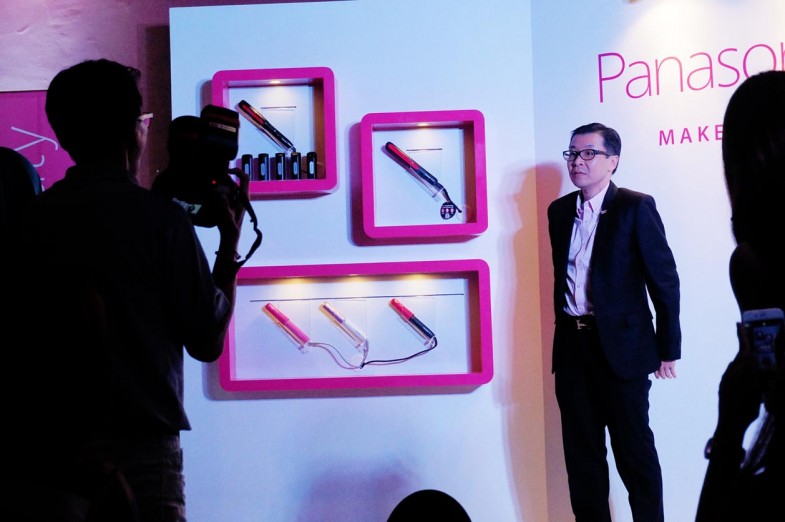
    Ladies let me present to you Panasonic’s 3 new hair stylers (from the top) Multi-Styling Hair Styler EH-HV51, Straight & Curl Hair sSyler EH-HV20 and Compact Straight & Curl Hair Styler EH-HV10.

    A closer look of each styler so you have a better understanding on each of them and get the right one for yourself!
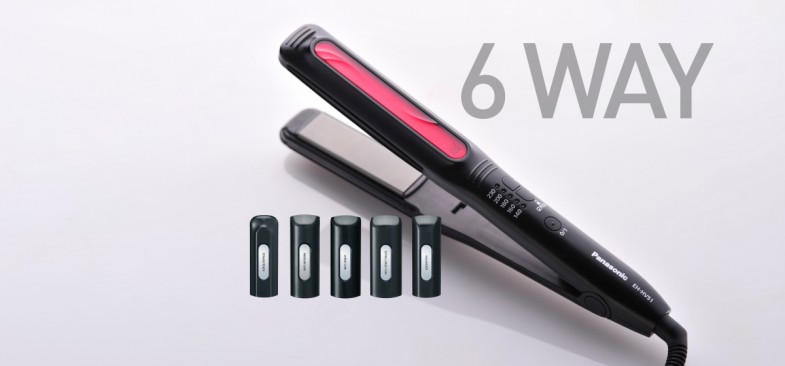
    EH-HV51-Product_Main_PictureGlobal-1_my_en

    Multi-Styling Hair Styler EH-HV51 comes with additional 5 attachments that can create a total of 6 different hair styles. This model has the latest technology that will evenly distribute the heat on the plate for better styling results and it’s ready to use in 15 seconds. For those who have colored hair it’s perfect for you because it has color-care photo ceramic plates to prevent color fading. (Retail price RM255)
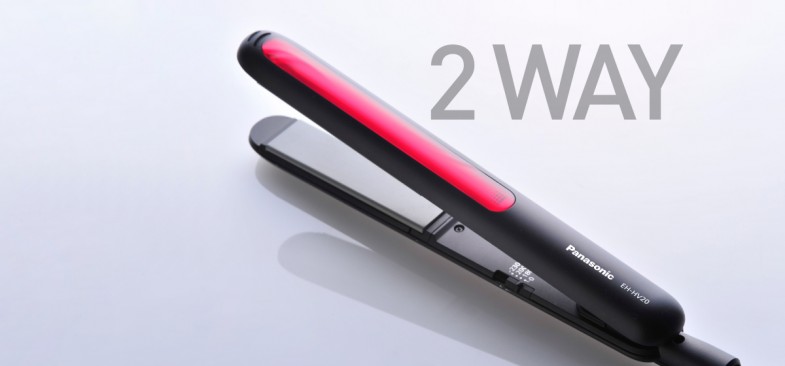
    EH-HV20-Product_Main_PictureGlobal-1_my_en

    2-Way Straight & Curl Straightener EH-HV20 also has the same even heat distribution plates and can be ready to use in 15 seconds. The only difference of this model compared to EH-HV51 is that it has 105mm extra-long plates for speedy straightening and easy curling. For those who have longer hair, this is perfect for you. (Retail price RM189)
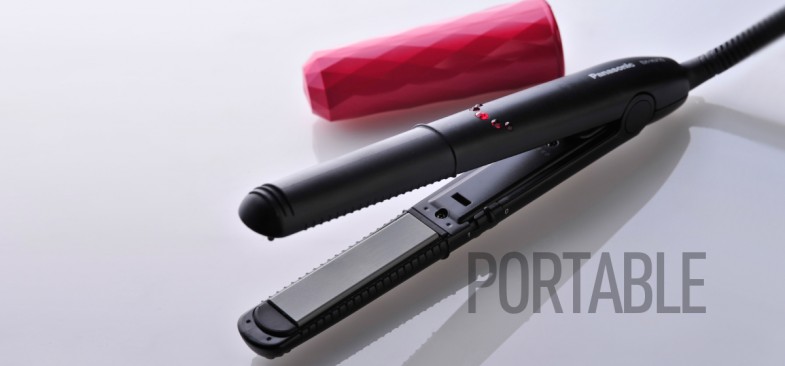
    EH-HV10-Product_Main_PictureGlobal-1_my_en

    Last but not least, my favourite Compact Straight & Curl Styler EH-HV10. The length of the styler is only 23.5cm including the cap so it’s perfect for easy storage and to travel with. To those who love to travel, this is what you need. (Retail price RM119)

    *All three models above have color-care photo ceramic plates for color-fade prevention, keeping hair moist and to prevent color loss.
    DSC08946

    DSC08948

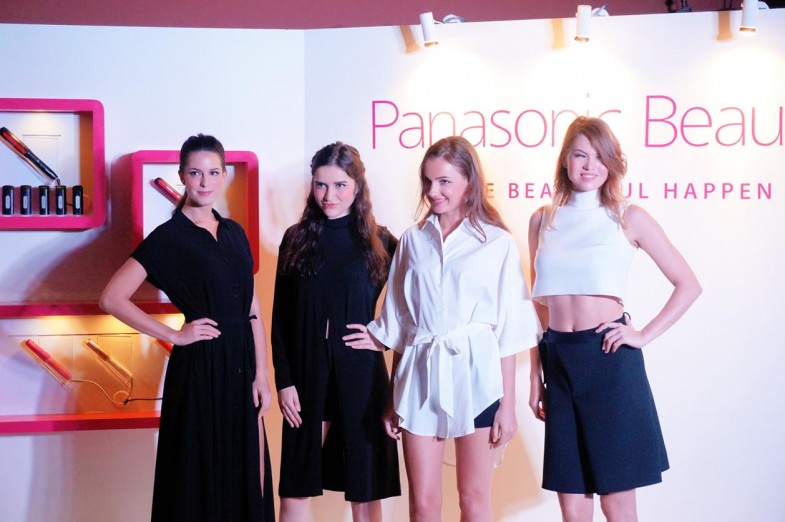
    Behind every pretty model, there is always a talented man/stylist, and today we have my favorite Yoshi-san from Number 76 hair salon. Most of you should already know Yoshi who is the master behind my hair color and hairstyle, haha, and he is also the one who makes sure my hair is well taken care of. I’m 100% sure that he knows my hair better than I do.


    DSC08957 DSC08952

    Couldn’t decide which color I should bring home haha.
    DSC08962

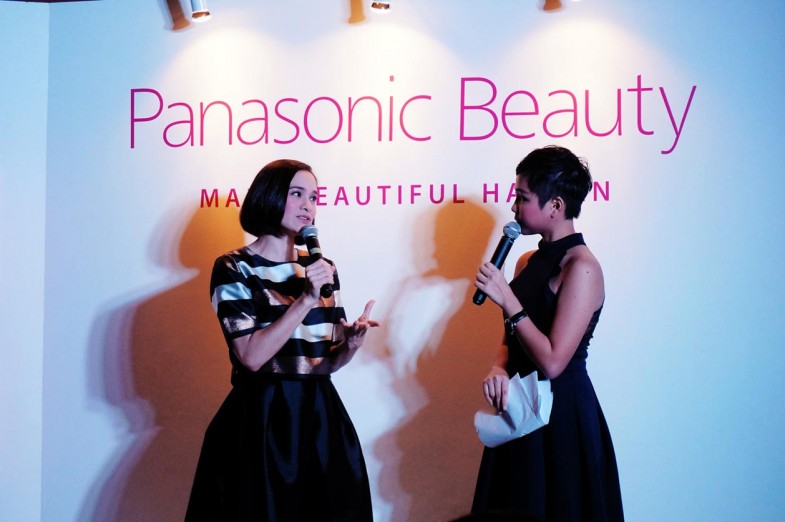
    Lastly, we have Aishah Sinclair, Panasonic Beauty Personality, to share her experiences and her beauty secrets using Panasonic beauty products.

    DSC08963

    Attending events with these pretty girls is always fun (Karen, Apple, Bella, Nana)

    DSC08968

    Finally a proper picture with Yoshi-san, believe it or not I have never taken any pictures with him before hahaha. He is single and available *ahem ahem all my single ladies, a hint for you…

    DSC08970

    Another picture with the soon to be the mother of two, congrats Cheesie!

    For more information, please visit http://www.panasonic.com/my/consumer/beauty/beauty-care-learn/hairstyling-lesson/hair-styler-HV20-HV51-HV10.html

  • My Makeup Tutorial Using KATE Tokyo

    IMG_1385Sponsored Post

    If you were to ask me which part of my daily makeup routine is the most time consuming, not to mention the toughest, I would have say my eyebrows. I’m not sure if the problem is my skills or what but I’m sure many would agree that eyebrows are the toughest compared to the rest! It’s so hard to achieve a natural looking or even-looking eyebrows. At one point I gave up and just simply drew on my eyebrows, as long as the color matched my hair =(

    To be honest with you I have tried a few eyebrow pencils but none of them can achieve very natural looking brows. You know, some eyebrow pencils will even make your brows look fake, as if it was drawn by crayons hahahaha * plays Crayon Shin-chan theme song.

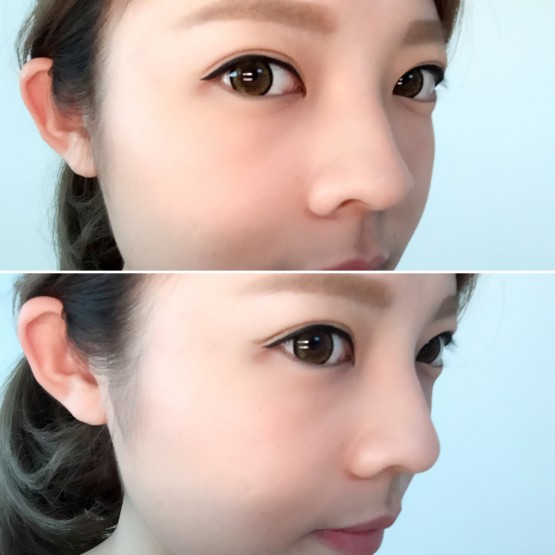
    Fortunately, after a lot of time and money wasted on failed methods, I finally found one that helps me to create a very natural looking brows, without looking obviously drawn on by pencil.

    DSC08781

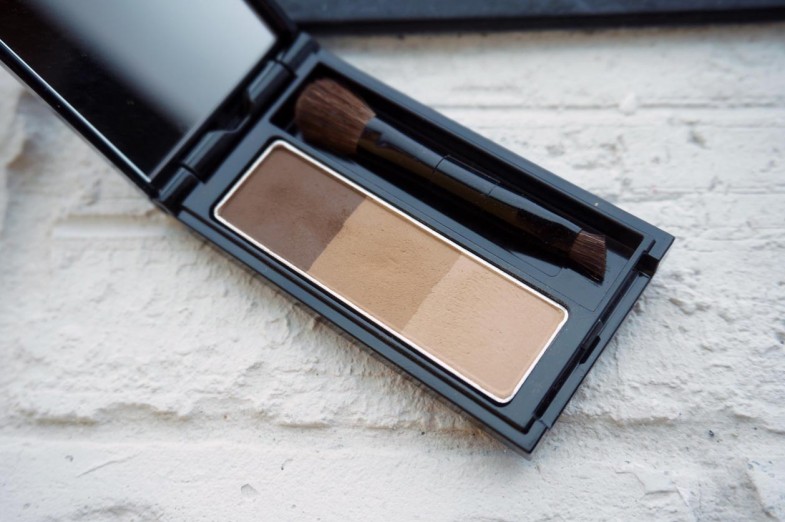
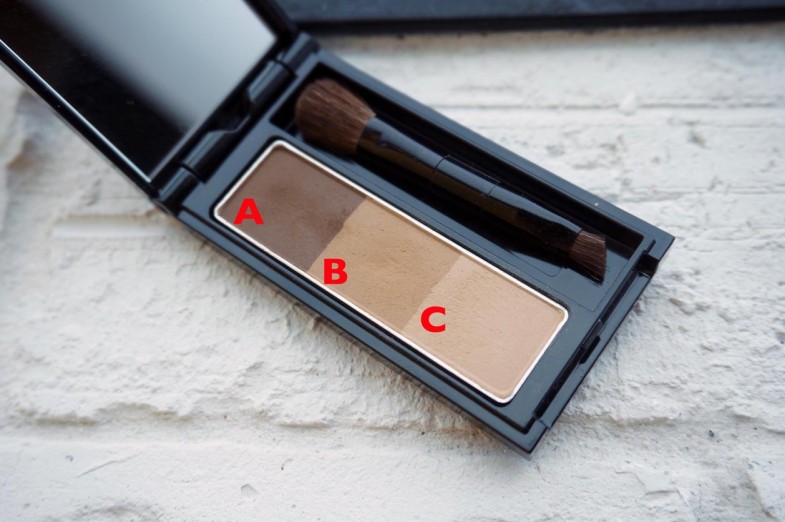
    Ladies, let me present to youKATE Eye-Defining Eyebrow that is created with 3 shades of powder. 3 different shades to help naturally shade the eyebrows and nose bridge all in one palette!

    eyebrow

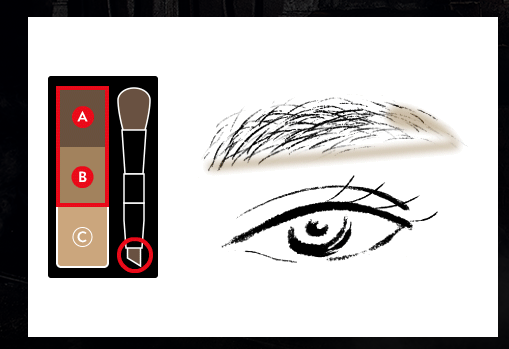
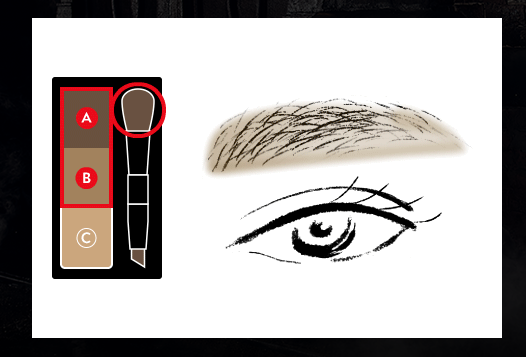
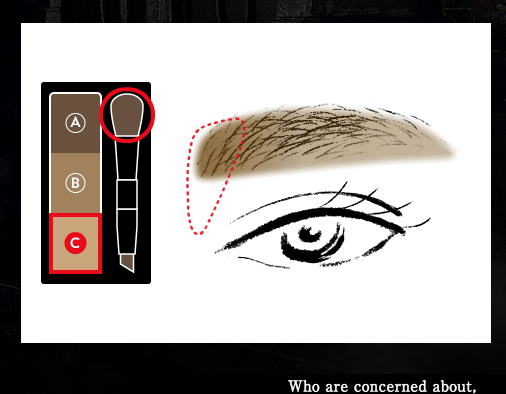
    I have denoted the colors as A, B and C for ease of understanding!

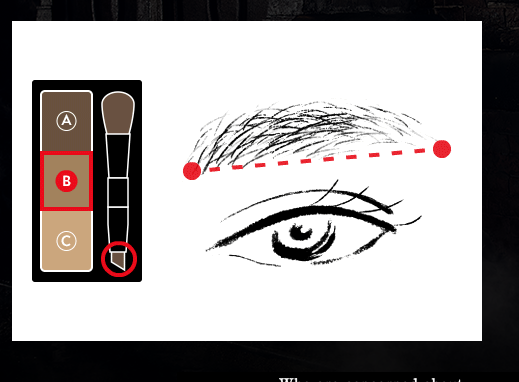
    Screen shot 2015-11-01 at 2.13.55 PM

    Step 1 – Use shade B to draw a straight line under the eyebrow, using the flat brush!

    Screen shot 2015-11-01 at 2.21.28 PM

    Step 2 – Mix shade A and B with the flat brush and fill the space between the brow shaded line.

    Screen shot 2015-11-01 at 2.22.46 PM
    Step 3 – Mix A and B with the rounded brush and give a final touch to the eyebrow, making the inner corner darker!

    You can also check out more eyebrows designs HERE

    Screen shot 2015-11-01 at 2.23.53 PM

    Step 4 – Use Shade C with the rounded brush and brush on the side of the nose!

    The brush that is shown here is a special limited set that comes with the Kate Designing Eyebrow palette – so if you have your own flat and round brush, that works too!

    Wasn’t that easy? Drawing perfect eyebrows is no longer rocket science to me or you! Well, since I will be heading out later, I shall just complete my whole day look and share with you guys!

    DSC08785

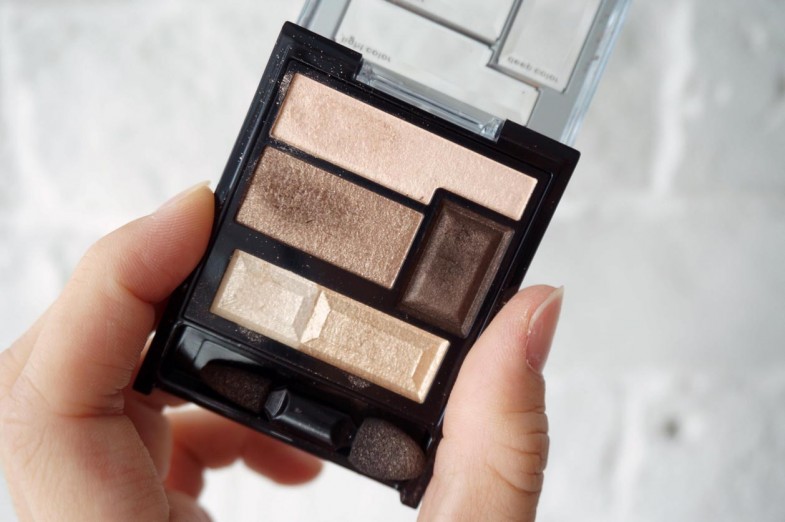
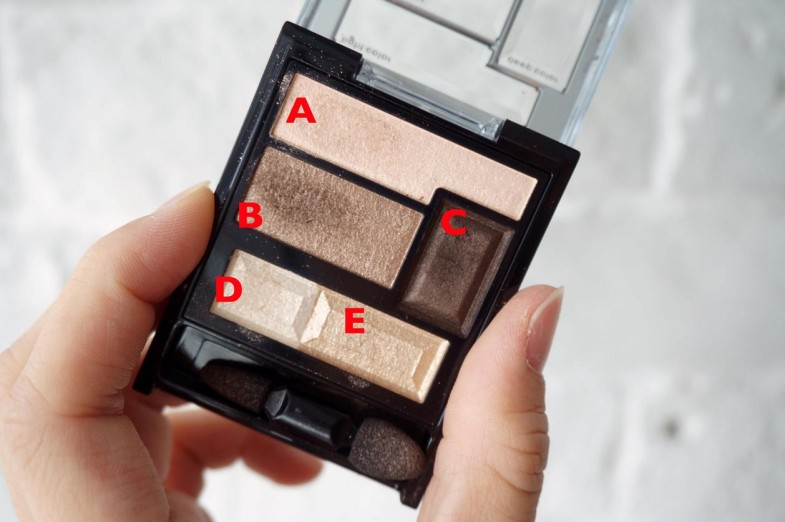
    For my everyday look, I usually prefer to go with natural orange brown and nude gold from KATE Trap Impacts Eyes eyeshadows (BR-2). I’m quite bad in mixing eye shadows for my eyes because they never turn out nice so I always go with KATE Trap Impact Eyes as it comes with very simple instructions on their packaging.

    eyeshadow

    Step 1- Lightly spread shade A over the upper eyelid with your fingertip.

    Step 2- Blend shade B from the inner corner, out towards the crease using the finer tip of the applicator!

    Step 3- Apply shade C along the upper eyelid edge and spread it upward, blending it with shade B.

    Step 4- Apply shade D to the inner corner with the larger tip

    Step 5- Spread shade E over the lower eyelid with the larger tip

    Step 6- Using the thinner tip of the applicator; apply shade C on 1/3 of the lower eyelid from the outer corner.

    Please take note that step 4- 6 is optional when you’re doing everyday/ natural look because I usually apply step 4- 6 if I’m going out at night or attending an events. Shade D and E are in gradation color shades to the lower eyelid to help to achieve your eyes look vertically larger.

    KATE Tokyo has seriously put a lot of thought into our Asian girls’ need when it comes to makeup no wonder they are the NO,1 sales in Japan for more than 13 years, hands down on that!

    After I’m done with my eye shadow I will move on to eyeliner. Today, I’m using KATE Super Sharp Liner.

    DSC08787

    The thing I like most about this is that the tip is very fine, and will help create a thin line for the natural look.


    24

    Who doesn’t like the effect of double eyelids? The sharper it gets the wider your eyes look. The god of all double eyelids, KATE Double Eyelid Remake Liner, it only comes in one color, which is a super pale brown to match most of our skin tone.

    12

    The step is pretty simple, you just need to draw a small line at the end of your double eyelid (outer corner) to help extending your natural double eyelid line. Simple step like that will help to create a sharper and wider-looking eyes. This concept is a very new concept in creating a more define-looking eye makeup, and I am impressed with the idea behind this product!

    IMG_1385

    Look at the before and after effect! My eyelid are further elongated, and it looked very natural as though that is like my real eyelid length!

    4

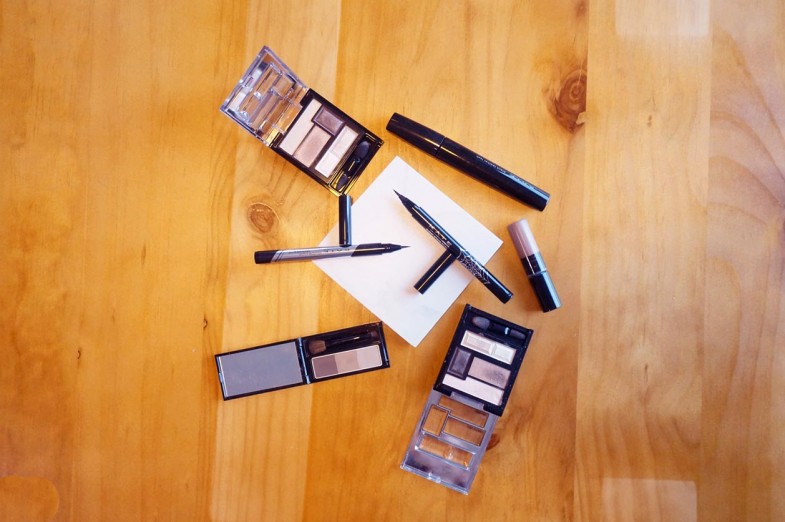
    These are the main cosmetics that I use to create my daily look!

    DSC08776

    I’m done with my daily makeup and I’m ready to kick start a brand new day!

    Chill ladies, I know it will be easier if there is a video tutorial for you girls so I recorded one just for you!! Check out my tutorial on how to achieve the perfect eyebrows with KATE Eye-Defining Eyebrow below!

    [youtube]https://youtu.be/yJ-7grlYxMw[/youtube]

    KATE Tokyo’s AW Collection this time round, while still maintaining their chic and strong look – a subtle yellowish tone that mellows down the edginess, blending into the whole setting of autumn that makes give a very comfortable look. I am particularly impressed by KATE’s ability in maintaining their strong, chic, “No More Rules” concept.

    top_pickup_img02

    For more info please check out …

    KATE website: www.kate-global.net

    KATE FB: www.facebook.com/katemalaysia

    KATE 2015 AW Brand Movie: https://www.youtube.com/watch?v=zMcLjlOtYIo

  • #BoboRenovates – Suzuka Brick Facade Feature Wall

    Hey everyone! I thought it was about time to post another installment of #BoboRenovates as we finally went and bought pillows, carpets, and a coffee table for our house! Haha, we got a bit too comfortable and procrastinated on these items until we had no choice as we had many people coming over to visit!

    Anyway, most of you have already seen my feature walls from my Instagram or Dayre posts, but I’ll talk about the process in length here.

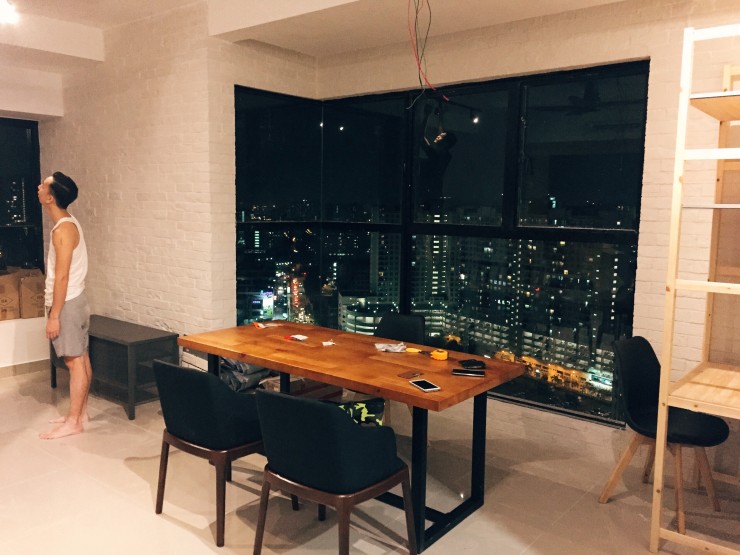
    First of all, we decided on the theme for our house would be a urban loft style so brick walls would be perfect. We wanted to go with red or grey bricks but in the end, decided on white as it would look cleaner and more modern.

    We are using BK-3106 from Suzuka’s Brick Facade Collection (http://www.suzuka.com.my/product-category/brick-facade/). There are many colours and variations in the Brick Facade Collection and we went with this BK-3106 as the tiles have a raw, weathered look, instead of the usual clean cut look that is found on most brick surfaces.

    The brick facade tiles are molded after real, worn and weathered bricks for the super authentic look, and they have texture that cannot be replicated otherwise! Besides that, they have corner tiles (L – shaped) for the corners of your walls so the overall effect is super realistic!

    Here are some pictures of our living and dining room!


    IMG_0800

    IMG_0791

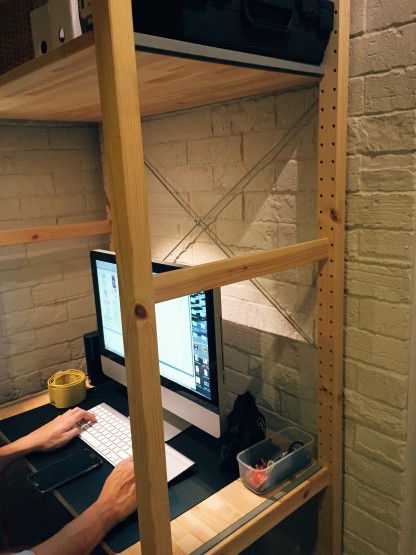
    We decided to use an exposed wooden rack from IKEA to use as storage and workstation so the brick facade behind is exposed and uncovered. I like the mix of wood and brick textures!

    IMG_0792

    IMG_0778

    IMG_0898

    Haha, The before and after picture of our dinning area and it shows you the overall effect of the tiles! If you look at the corner between the TV wall and the dining area windows, you can see the corner tiles.

    By the way, we are using spot light tracks as our lighting instead of the usual down lights to make the lighting more industrial instead of a broad and even spread of light.

    IMG_0801

    IMG_0856

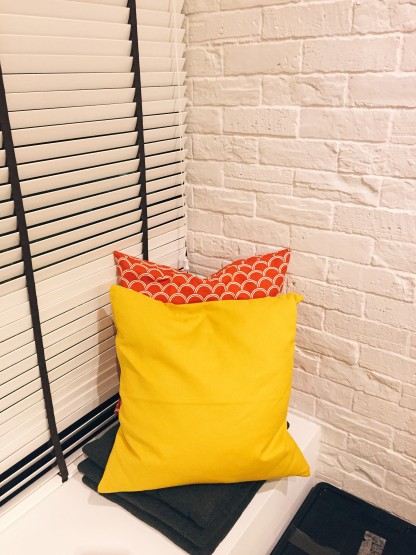
    Another advantage is that I can use the brick facade as setting for product shots and even selfies!

    OK, now so if you’re thinking, how do I learn more or choose the tiles I like?

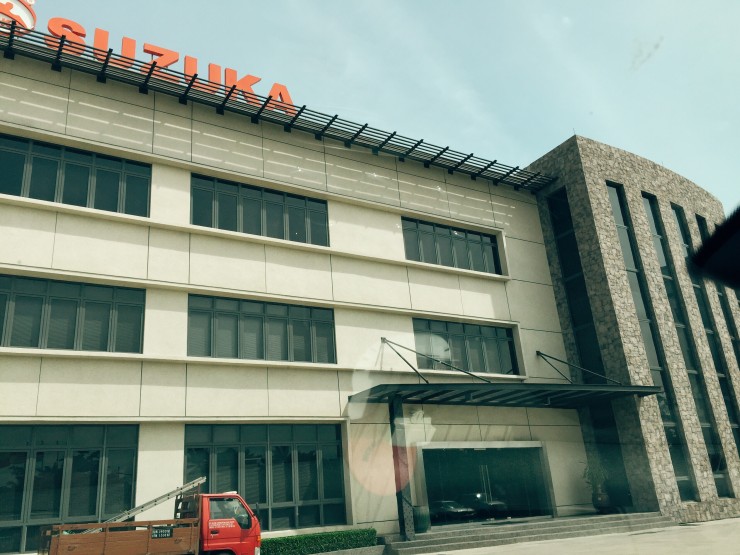
    Easy! Just take a short drive to their newly remodeled showroom in Klang! It’s just a 5-10  minute drive from the Setia Alam NKVE toll to give you an idea of how long it’ll take you to get there.

    IMG_0803

    IMG_0804

    Their showroom is huge and split up to a few sections for different products and also showing how their products can be used in or outside of your home!

    Besides brick facades Suzuka also specializes in concrete finishes, such as this Exposed Concrete Effect System. It is ultra modern and clean, and can be seen outside of many buildings in Japan.

    Suzuka ECES

    We were really, really, tempted to do this instead but decided against it as our condo was not big enough! Maybe when we get a landed property, boooo.

    IMG_0802

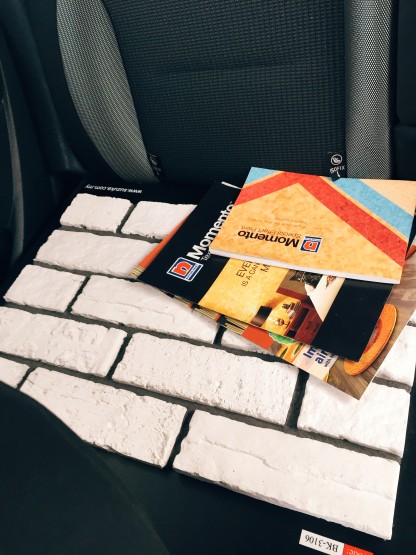
    Took home a sample board and if you look closely, on the sample board, the groove lines are filled with grey grouting. There are many variations you can choose from, for example, you can fill the groove lines half way, or even all the way to the surface of the tiles, in combination with grey or light grey or even white grouting, it will all bring about different effects when finished.

    IMG_0781

    Just tell Suzuka the dimensions of your project, and they will be able to calculate how many boxes of tiles you need. In total we needed 14 boxes including corner tiles, and each box contains 48 tiles.

    IMG_0782

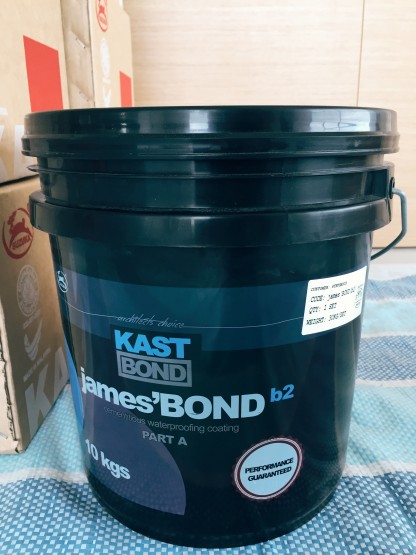
    We also got a tub of their waterproofing coating because we were going to re-tile our bathroom wall.

    IMG_0780

    First, our contractor laid down a layer of adhesive material, and then the tiles are laid one by one. This is quite time consuming and takes a lot of work, so make sure you let your contractor know what product you are using so he can quote you accordingly. You dont wan’t to get a cheap quotation and then only to find out at the end that it’ll cost you more!

    IMG_0779

    Once all the tiles are laid, you just need to fill the groove lines with grouting and that’s it! We chose white grouting so the space looks much cleaner and brighter!

    Last but not least, Suzuka is very kind enough to give my readers a special discount!

    Quote BOBO to redeem any or all of the following:

    Free design consultation over coffee at Suzuka’s brand new showroom.

    • RM100 cash vouchers for the purchase of any brick facade series products of your choice.
    • Buy 1 get 1 free for Kastbond waterproofing products.
    • Bring your own ID to further discuss on your design if you prefer, we offer an attractive discounted rate (applicable for coverage area of 150sf and above) for all supply and apply projects.
    These offers are valid until 31st January 2016.
    Please call Amira on 03-32910722 extension 154 to make an appointment today!
    For more details please check out their Suzuka FB page and Official web site!

  • Did Someone Say Ice Cream?

    Sponsored Post

         “There is always room for ice cream!” Recently I have been craving to have ice cream and I have no idea why. I remember there was once I was craving to have ice cream so bad that I asked Jo to buy me a Magnum on his way home from work. Ice cream is the most satisfying and simplest form of dessert that can be had anywhere, no matter where you are.

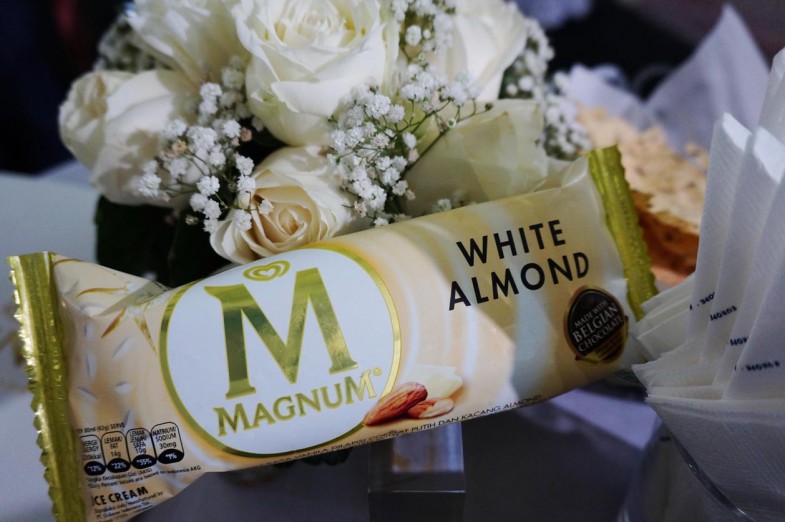
    My favorite ice cream has always been Magnum, so when I received an invitation from Magnum for their new launching of Magnum White Almond ice cream I was super excited! I’m a big fan of Magnum Almond, which is vanilla ice cream dipped in milk chocolate and almonds, yummmm! I’m sure the new Magnum White Almond will be equally yummy too!

    DSC08372

    Magnum White Almond launch was held at KL Hilton recently and the theme was classy white! Theme parties are always fun!

    DSC08377

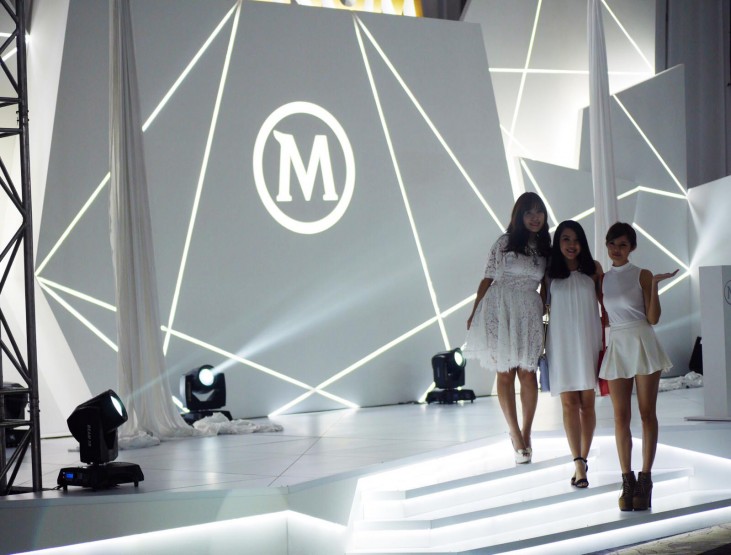
    Reached there early so I get to hang out at the photobooth longer haha. My outfit makes me look like a Magnum White Almond because my top and bottom was white then I wore my nude colored heels so it looks like the stick itself hahha.

    DSC08390

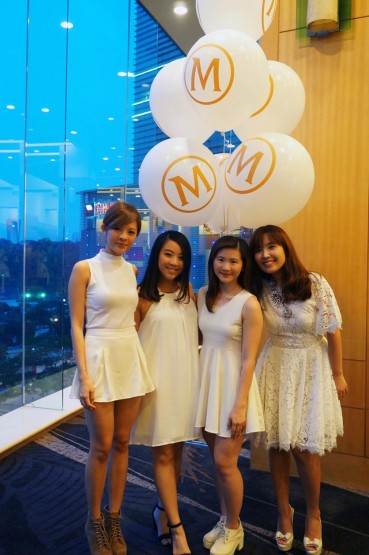
    Having friends there make attending events extra fun and exciting! I was there with Careen, Sam and Hui Wen!

    00dccf700196cc99bbad4e62edb31cdf

    We just love to take pictures lol. Careen’s camera was super awesome, makes everyone look so pretty haha.

    DSC08414

    d689fdc773eda94946f9002ea68b6e18

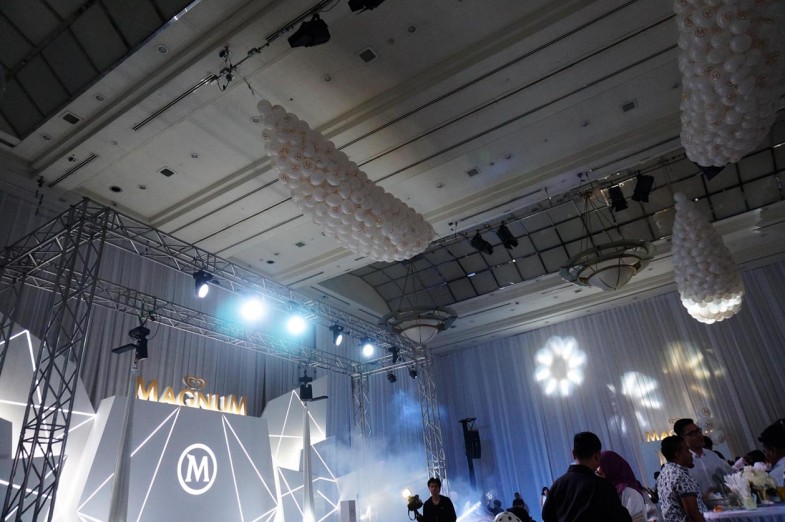
    Everything was in white including the stage, super nice and classy.

    DSC08396

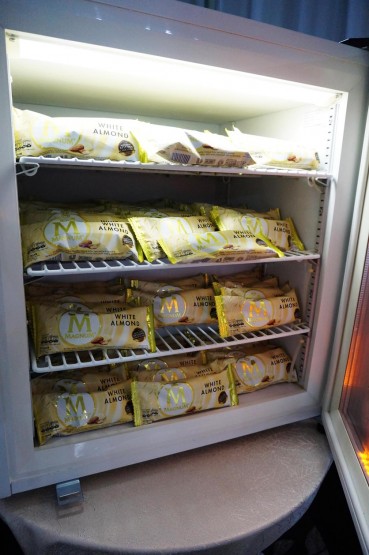
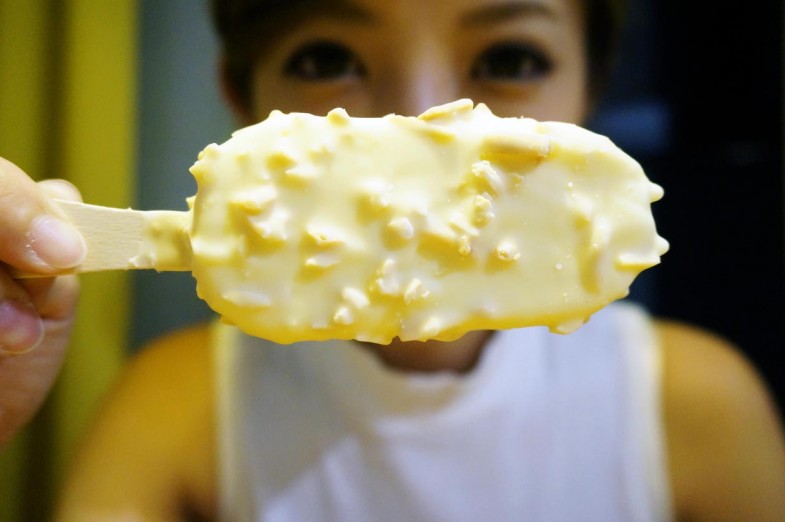
    Say halo to all-you-can-eat Magnum White Almond, OMG!

    184cf94fee377d604f507fa562873b05

    First thing to do was to grab myself one hehe.

    DSC08400

    Table setting was in white too!

    DSC08404

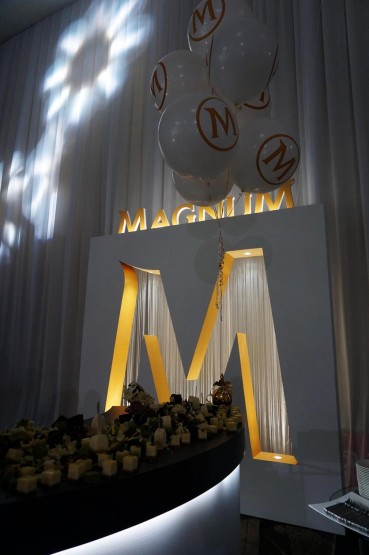
    Then I saw this giant Magnum in the center for the ballroom haha.

    DSC08410

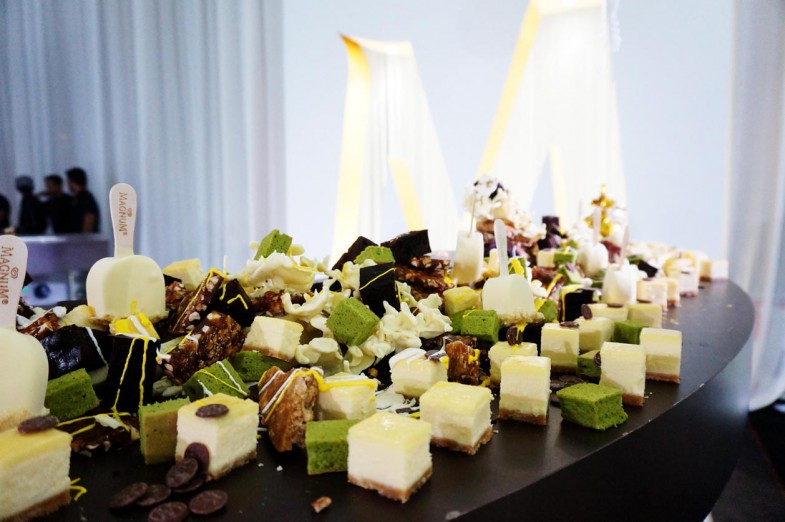
    Dessert bar with balloons and lots of sweets!

    DSC08413

    A closer look of the dessert bar T__________T If only I have one for my birthday next month!!!!

    DSC08417

    Event started with a welcome speech by Mr Rakesh Mohan, Chairman of Unilever Holdings (Malaysia) Sdn. Bhd.

    DSC08424

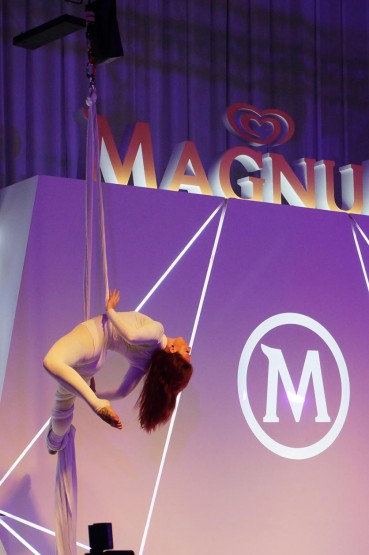
    Then Pure Indulgence Aerial performance!

    DSC08429

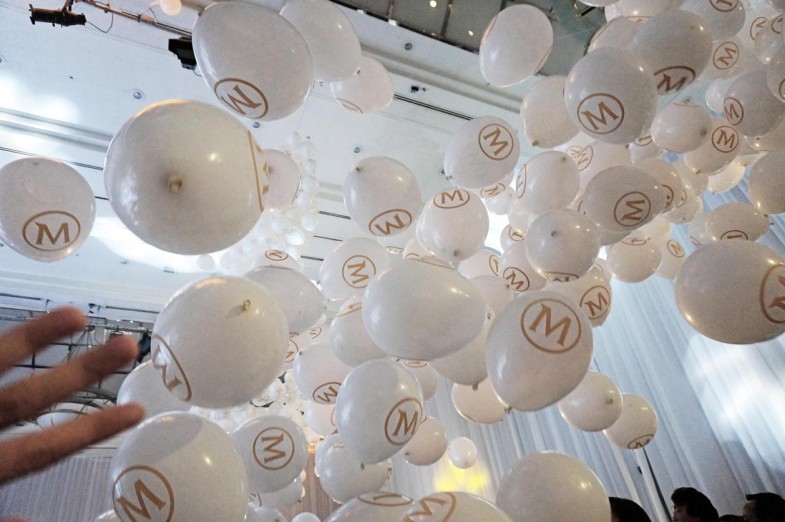
    White balloons dropping from the top, please ignore my fingers I was too excited lol.

    DSC08435

    Then catching up with the girls because Careen found out about the gender of her baby bump!!!

    DSC08438

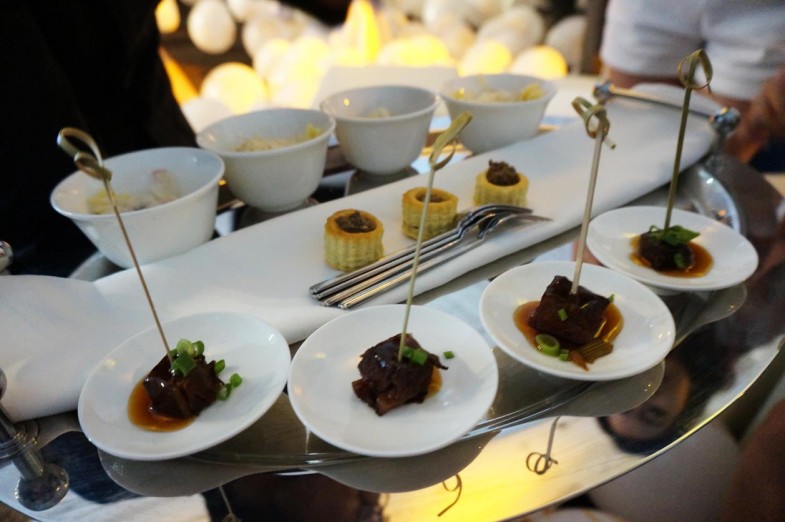
    The food that was served at the event was by far the best I have ever had in any events! The Wagyu beef and also the creamy carbonara T_________T please bring me more bowls, thank you!

    DSC08436

    It was a fun night hanging out with the girls and enjoying the unlimited Magnum White Almond ice cream!

    DSC08447

    When I got home I decided to eat another one because I wanted to share it with Jo.

    DSC08449

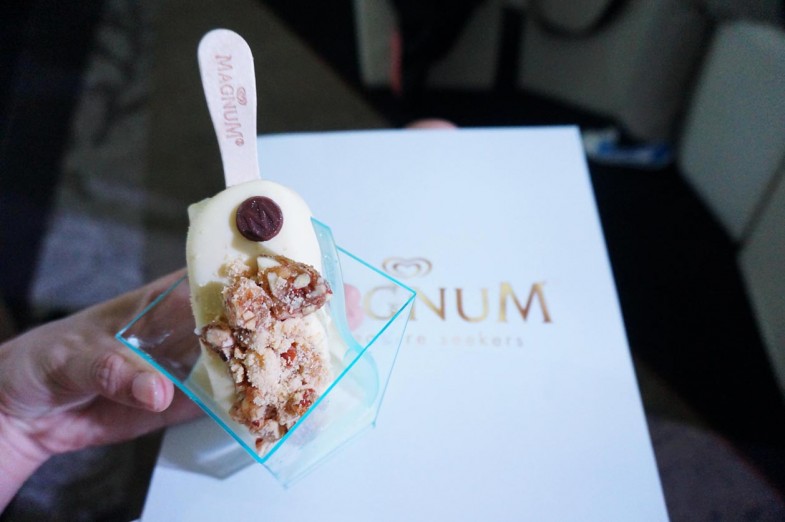
    Magnum White Almond is made with smooth and creamy vanilla ice cream covered in a thick layer of quality Belgian white chocolate, with almond pieces!

    DSC08453

    I get to eat it before Jo does cox he was busy taking pictures for me lol.

    DSC08459

    It does feel good to have ice cream on hot day like we have in Malaysia!

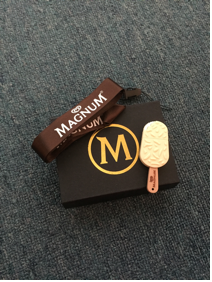
    Untitled1Love my cute little Usb from Magnum too!

    Thanks Magnum for the sweet invite!

    For more info about Magnum ice cream please check out http://www.facebook.com/magnummalaysia or http://www.walls.com.my/magnum

  • #BoboRenovates – Painter, Movers and Cleaners

    Ahhhh, I can’t believe from writing my personal diary, I’ve moved on to fashion, and now I’m blogging about my experiences on renovating and moving into my new home! How time flies! We’ve moved on from being totally carefree, to comparing prices at the supermarkets and everything else we need, not to mention renovations as well.

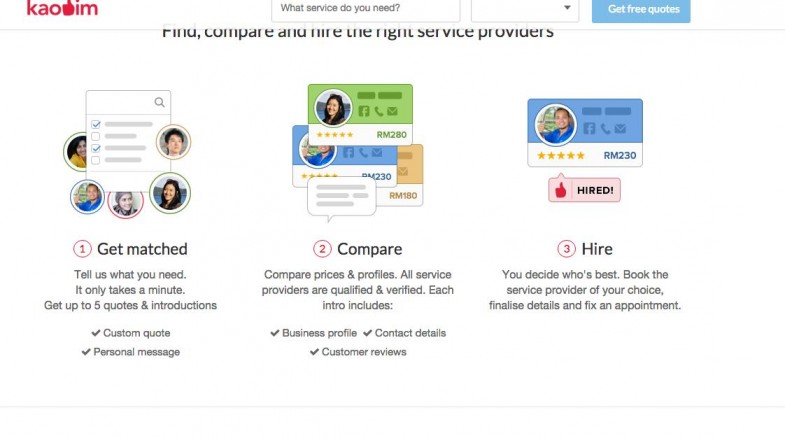
    As I mentioned in my previous #BoboRenovates post, I will share with you every step of my house renovations so today I’m going talk about my experience on hiring painters, movers, and cleaners for our new place1Have any of you heard of Kaodim.com? If you haven’t, Kaodim.com is an awesome platform that helps you to find, compare and hire trusted home service professionals with just a few clicks. You don’t have to ask around for contacts from friends and family or ask for recommendations because through this website you can get up to 5 quotes for FREE!

    2

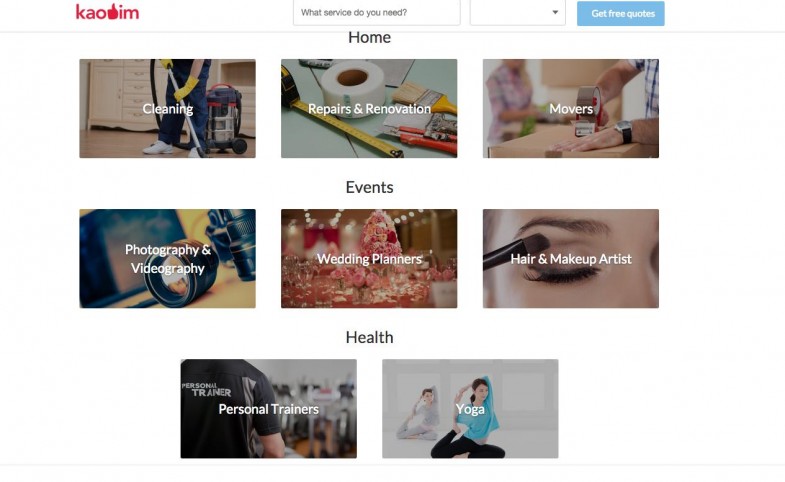
    Besides getting quotations for all your home improvement needs, they also provide services like hair & makeup artists, yoga instructors, personal trainers, photographers and even wedding planners.

    Actually I also kind of regret not getting quotations from Kaodim.com for my contractor because the one I hired was only average (I will keep this topic for another day). If I would have got quotations from Kaodim.com, I would have gotten a proper and detailed quotation and not have to fork out extra money at the end of the job. Anyway since I already hired my own contractor to do most of the main renovation work of the house, I was still looking for a painter (we preferred to hire a professional painter), movers, and also cleaners! That’s when I decided to give Kaodim.com a try as none of our friends or family have experience with these services.

    3

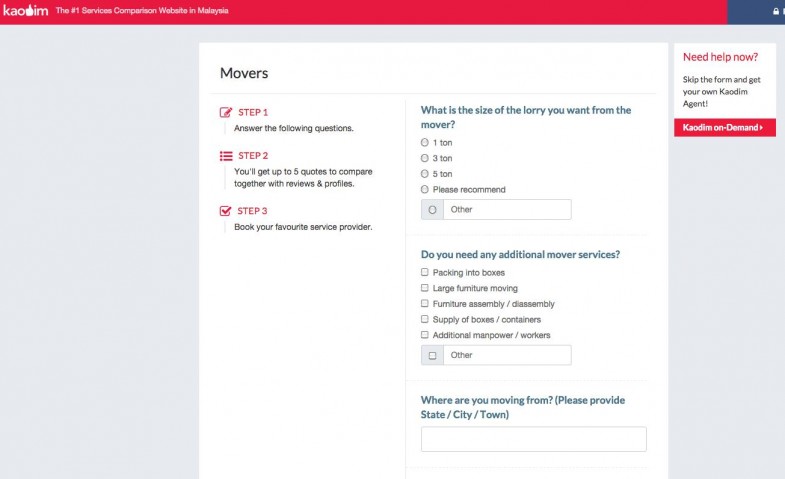
    All I did was to go Kaodim.com, choose whichever service that I needed, keyed in the details such as when and where I need the service, and then submit!

    4

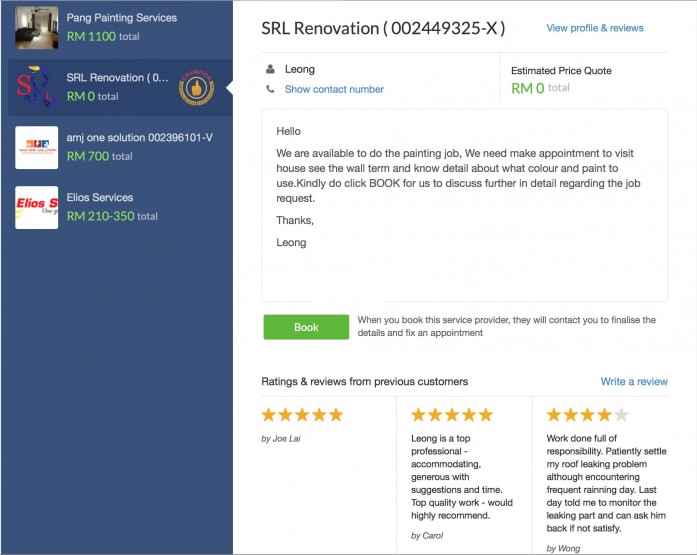
    Then you will receive up to 5 quotations in just a short period of time! As you can see above, these are the quotations we received for painting services, and then, we can compare the estimated pricing and also check the reviews of each painter. If you’re still not sure, you can make an appointment with them to get a detailed quotation after they have a look at your worksite.

    5

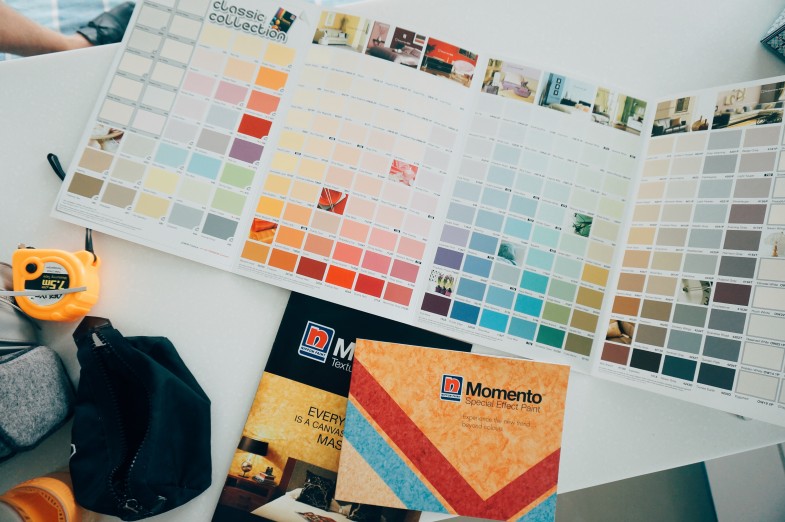
    We made appointments to meet up with 4 painters from different companies and only one of them actually brought us a color chart to choose from. We were so glad that we had 4 painters to compare and sort of get to know them first. The moment we met Ah Leong from SRL Renovation, we decided to hire him straight away because from the way he explained the job to us, we knew that our house would be in good hands!

    6

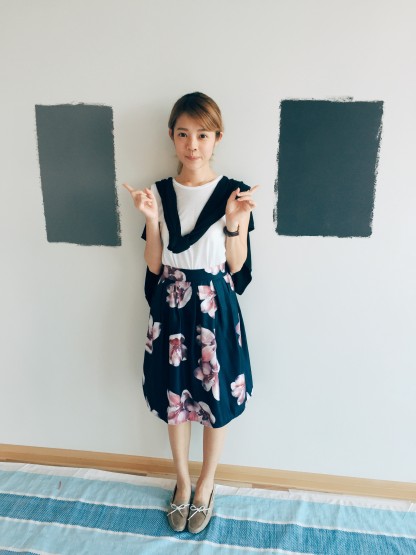
    To help us make up our minds, Ah Leong painted 2 different shades of grey on our wall for us to choose from, and he also painted some spots with 2 and even 3 layers. We didn’t realize that painting different layers of paint would affect the final colour and look so we were glad we got to see the colour first!

    7

    Ah Leong was super patient and punctual (I have never seen a contractor that is so punctual). We told him that we need to move in by a specific date and he completed his job right on time, even though he had to work through the night once and also bring his family to do some final touches  T_______T I was super touched by his efficiency and his responsibility. Thank you so much, Ah Leong you’re the best!

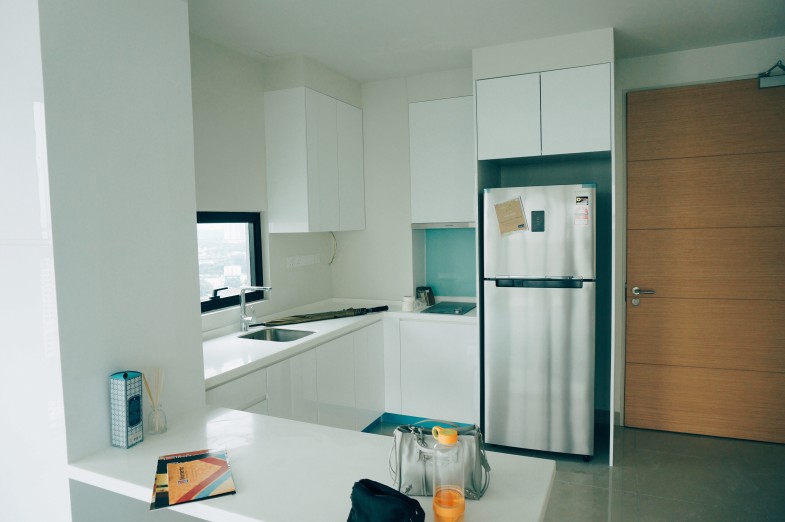
    The “before” and “after” pictures!!

    8

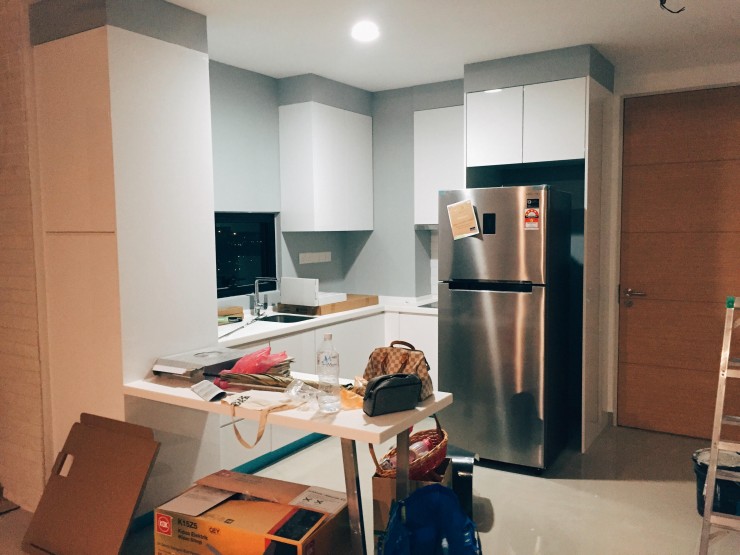
    Our kitchen was white and we thought it’s too boring! We wanted something different so we consulted with Ah Leong on the color we wanted and he also painted a few shades of light grey for us to choose from.

    9

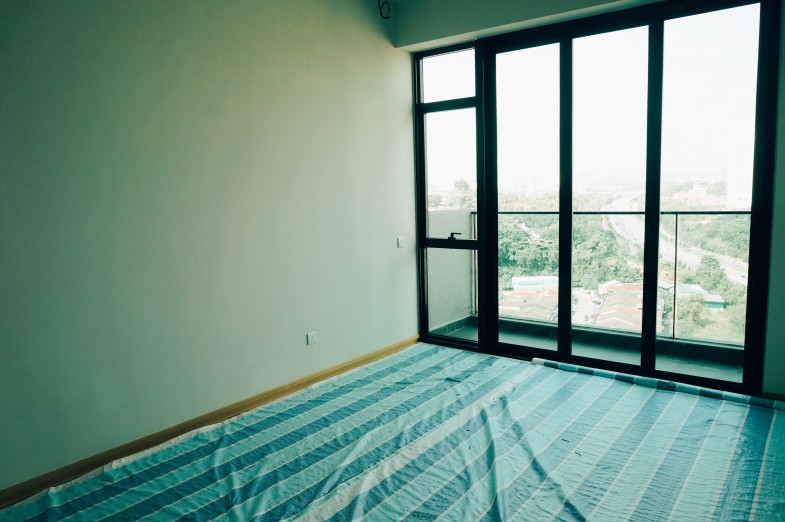
    We went with this shade of light grey, and this is from before we finished moving in.

    10

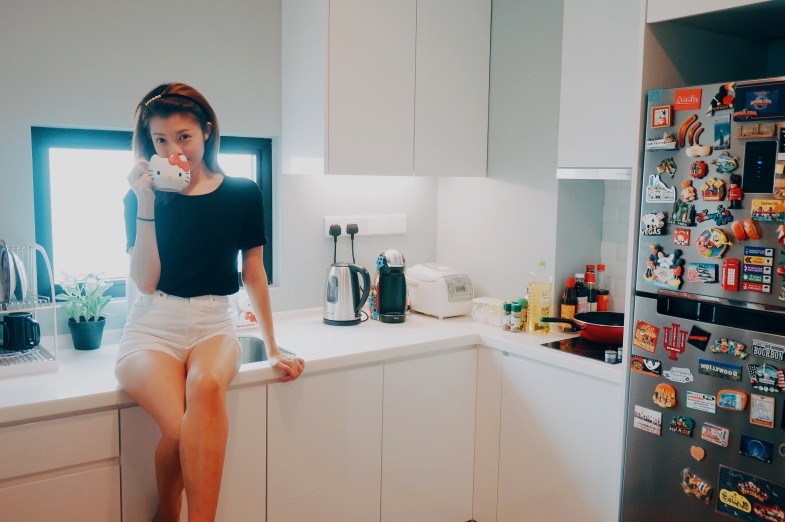
    I’m in love with my kitchen hahaha. The grey helps to really bring out the white in our cabinets!

    11

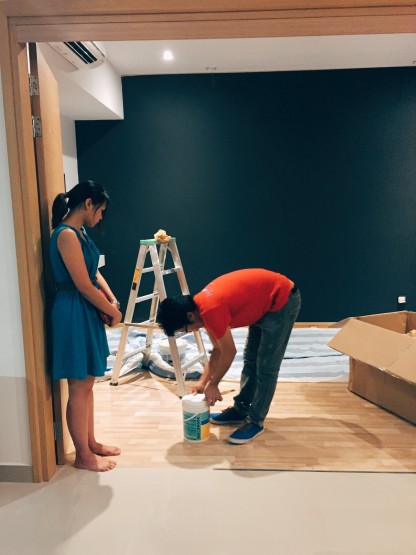
    “Before” picture of our bedroom! Jo wanted a dark feature wall so we decided to go with a very dark shade of grey!

    12

    Tadah, do you like it???? It matches our furniture perfectly!

    Now that the paint work was done, we still needed a mover to help us to move in! We hired Cubic Gold Movers from Kaodim.com because their price was reasonable and they provided boxes on loan! The benefit of having boxes on loan is that I don’t have to keep all empty boxes at home and it also saved a lot of money =)

    13

    They handed us the boxes (15 boxes) a week before the actual moving date so that we have sufficient time to pack!

    14

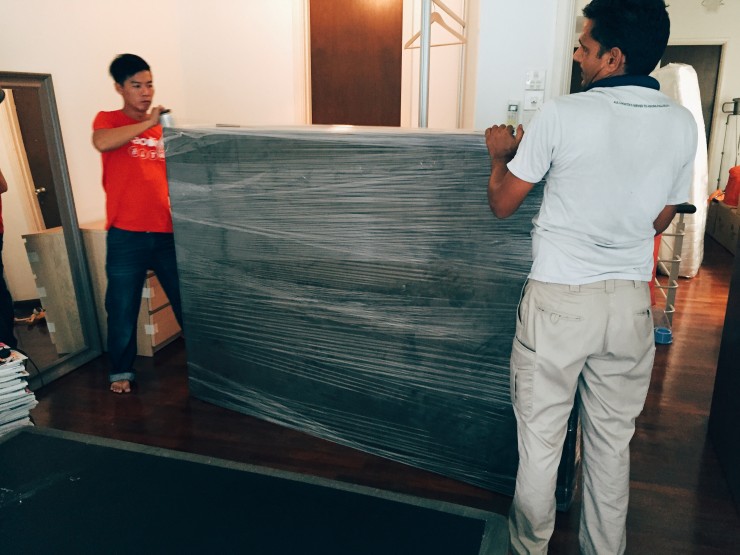
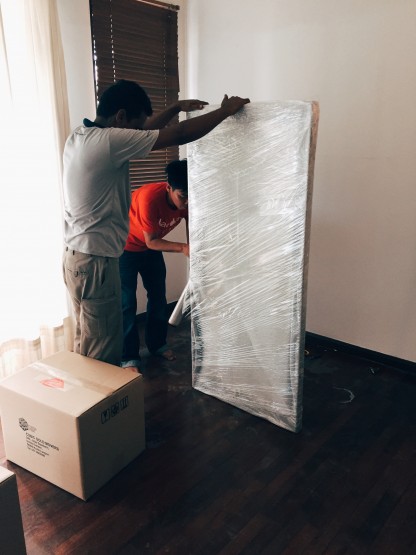
    When it was time to move, they came and wrapped all the bulky and big items so that our furniture wont get damaged during the move.

    15

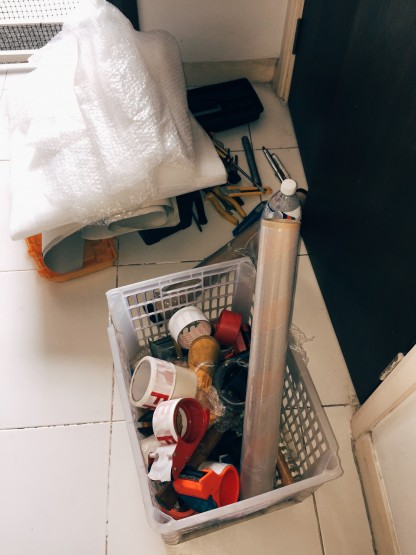
    You wont have to worry if you don’t have any tools at home because they will bring all sorts of tools to your place, including lots of tape!

    16

    Look at how well they wrapped our mirror hahahhaa

    17

    Most of the time we were just chilling in the living room while they did all the tiring work, thank you =)

    18

    Everything reached safe and sound and then it was my turn to unpack… this part was super torturing T_____T Thank god that they gave me around a week and a half to unpack everything and return the boxes if not I don’t know how.

    Now, for the cleaners, we actually hired them a day before we moved in…

    19

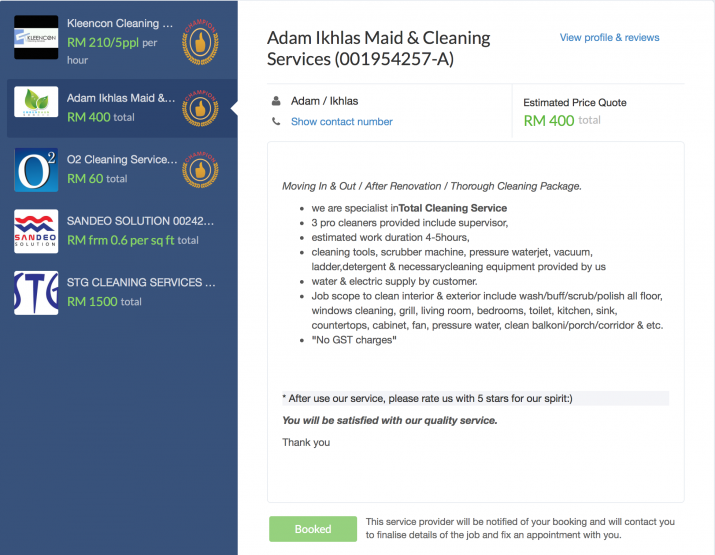
    We hired Adam Ikhlas Maid & Cleaning. They were very accommodating and allowed us to reschedule our appointment a couple of times due to unanticipated delays in renovation completion by our contractor. On the day itself, they turned up on time to clean the house. However, I personally felt a little let down by their work  =(  While they did general cleaning, I thought they could have done a better job, to look for, paint marks and plaster stains. We had to clean my house once more on our own because it wasn’t up to my standards la. T___T  I guess at the end I’m still glad that I gave it a try, so next time I will know specifically what to ask when I get a cleaning quotation.

    Overall my experience on Kaodim.com was very good and really exceeded my expectations! I love how easy it made our whole renovation phase and I was telling Jo from now on instead of asking people for recommendations, we can teach them what to do! Just go to Kaodim.com!

    If you, like us, are in the midst of renovating or moving houses, remember to check out Kaodim.com for the services you need. Kaodim.com is available in the Klang Valley, Penang, Johor Bahru and Singapore! Use my name “BOBOSTEPHANIE” for RM30 off your final bill when you hire a job from Kaodim.com!