Sponsored Post
Remember a few weeks back I mentioned in my Dayre post that Eubiq were at my house advising us on how and where to mount their power tracks? Well, they were finally ready to install and you can’t imagine how excited we were! The installers from Eubiq came over last Saturday, and all in, installation took about two and a half hours! I’m going to tell how guys about the whole process!
But first, if you have not heard of Eubiq, they were established in 2000 and developed their patented GSS System that allows you to add, remove, and reposition power outlets anywhere along a power track.
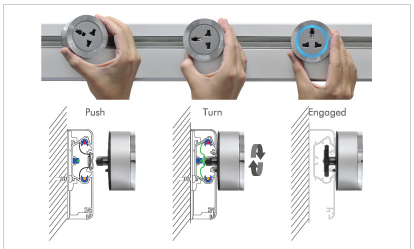
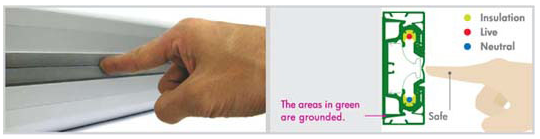
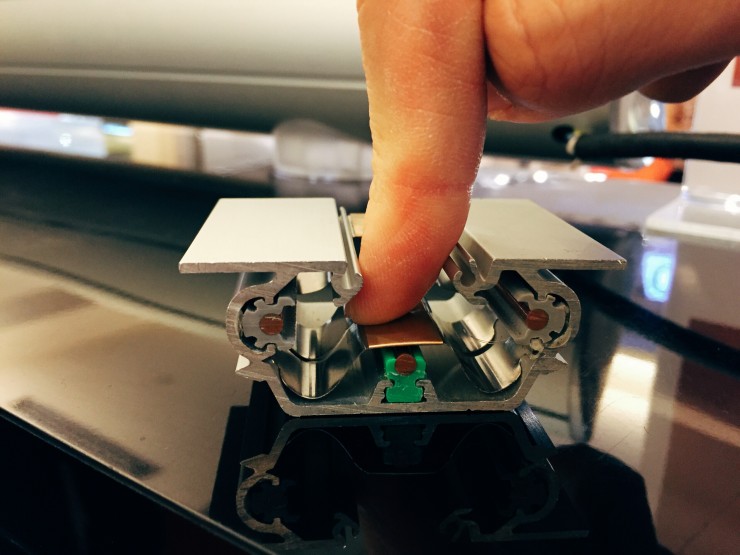
This revolutionary GSS System grounds all conductive subjects, and it is near impossible for hazardous shocks to the user as no two wires are in contact at any time.
You can read more about their products and applications here, and I will continue with the installation process!
We would be installing Eubiq power tracks at our kitchen, TV console, study table, make-up table, and also on both sides of our bed. All measurements were taken during the consultation and the tracks are then fabricated and pre-cut to make installation quick and simple.
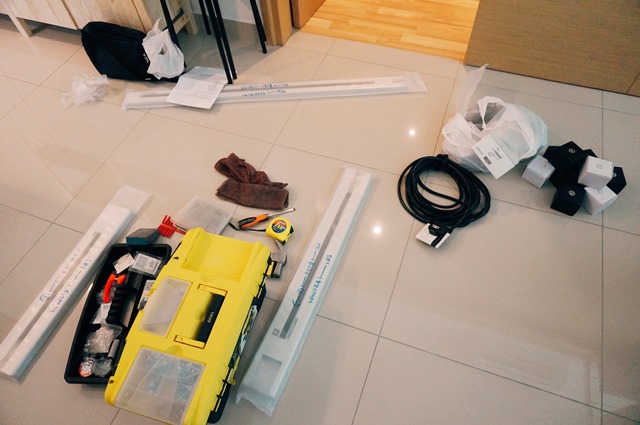
All the tracks are properly marked to show their length and positioning.

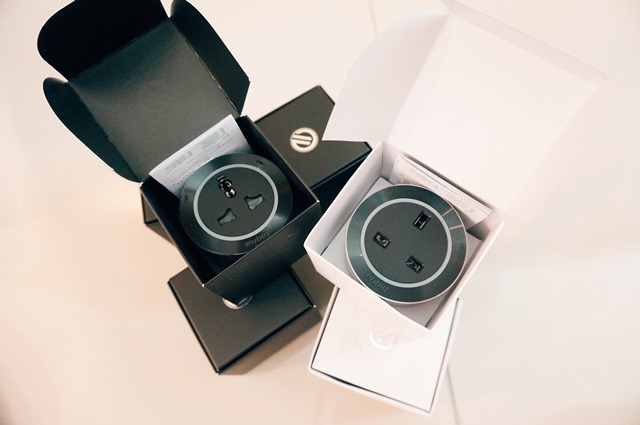
In addition to power tracks, we also got two types of power adaptors, the Premium ITL3 Adaptor, and Premium BS3 Adaptor. These have a shiny chrome ring and a nice finish on the face! So cool!
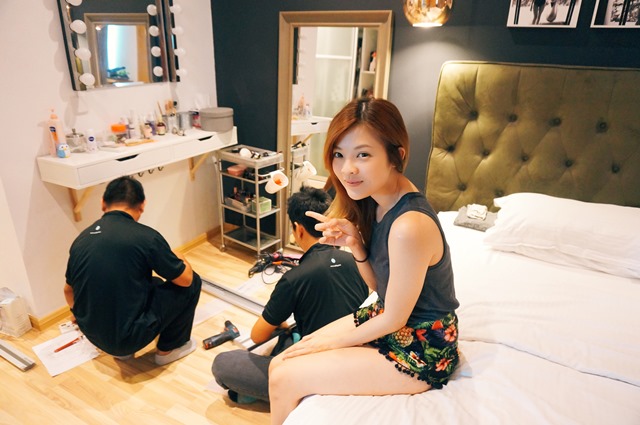
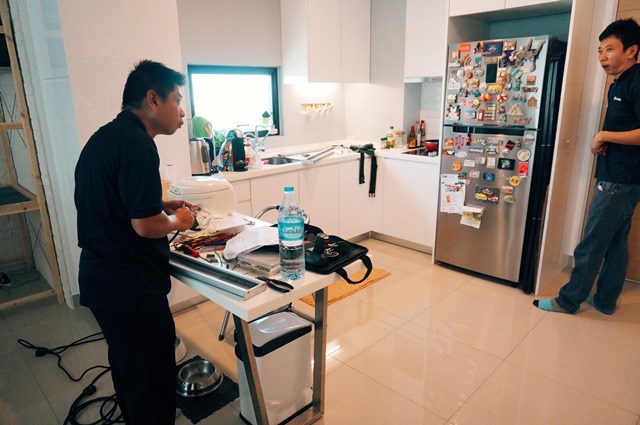
Here I am, “supervising”, hahaha. Actually I was just being ‘kepoh’ and disturbing the installers to keep taking pictures.
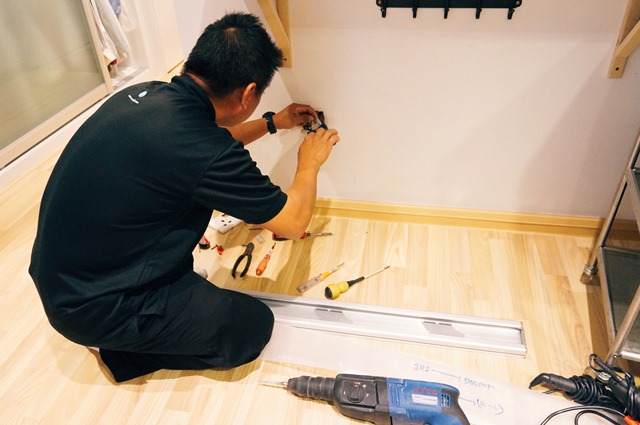
Since our house was already fully renovated before we engaged Eubiq, we were limited in terms of placement and also the ability to recess their power tracks in our existing walls and furniture. First of all, at my make-up table, they removed the existing power socket, and then hooked up all the wires to the power track. Then they drilled and mounted the power track to the wall and, as simple as that, they were done!
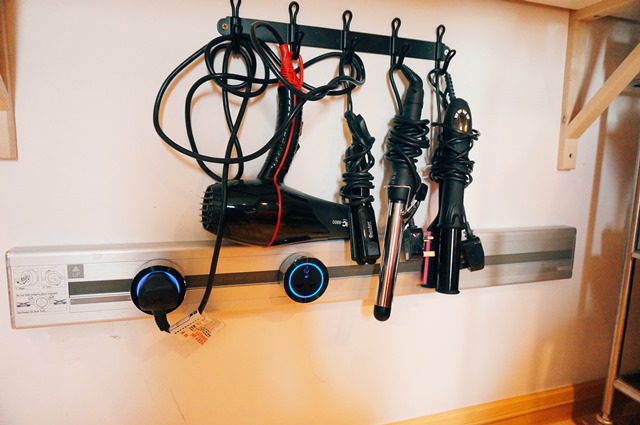
You seriously cannot imagine how happy I am right now cause I no longer have to go hunt for extensions or additional adaptors so I can use multiple styling tools at the same time!!!
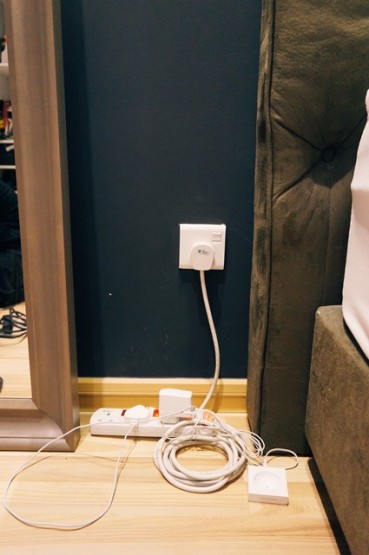
Up next it was time to get rid of this ugly looking mess at my bedside.
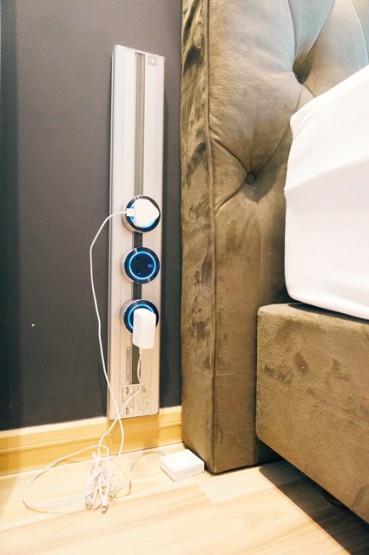
The installation process was similarly quick and my bedside now looks much, much, more high-tech and premium, not to mention clutter free as I can get rid of the ugly extension plug!
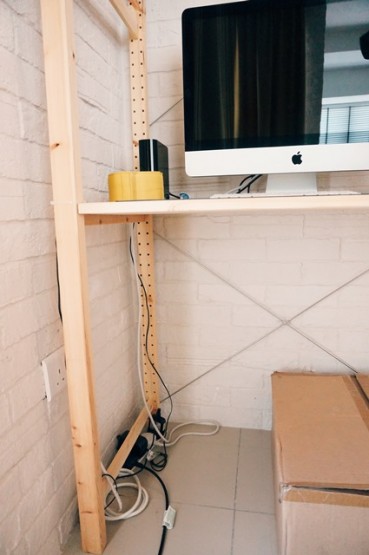
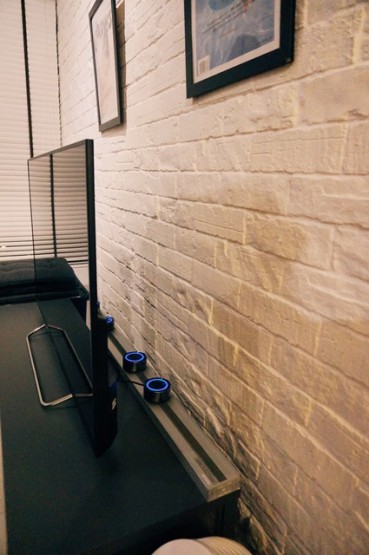
Next it was time to get rid of another big mess at my study table. This time they decided the best way to mount the power track was just to mount it on my table top, sparing my brick wall from a lot of drilling. Again, if we engaged Eubiq before our renovations started, we would have mounted the power tracks into the wall!
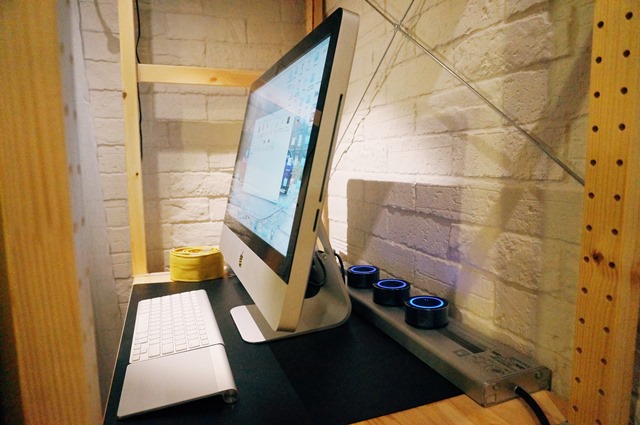
This is a much neater solution and now I can plug in my camera charger, phone charger, and etc without having to kneel down and knock my head on my table every time!
If you plan your workstation early, you can even install USB and HDMI outlets into the track, and then use it as a hub to connect to your computer or TV! This way you can just plug in stuff to the track instead of digging behind your computer hunting for the damned USB ports!

Next up, it was time to install the power track for our TV console and similar to our study table, we went for the easier option to install the track on top of the console instead of in the wall. Usually when I need to plug in my air purifier or chargers, we need to open up the console and then plug things into an extension plug.
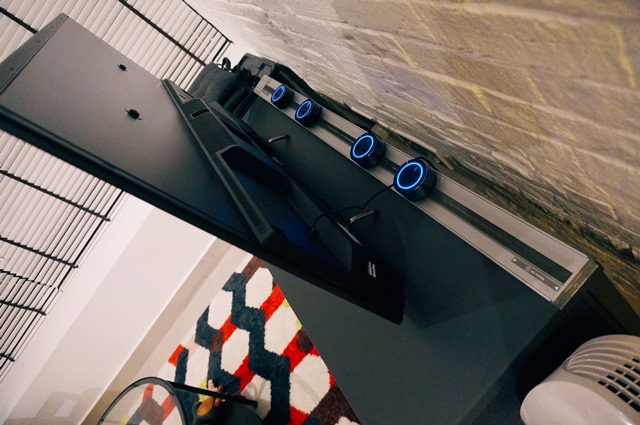
Now we can just plug in whatever we want right on top of our console instead of opening the front and have all the wires hanging in front of it. Like I mentioned earlier, you can customize your power track to have all your TV connections built into the track itself as well.
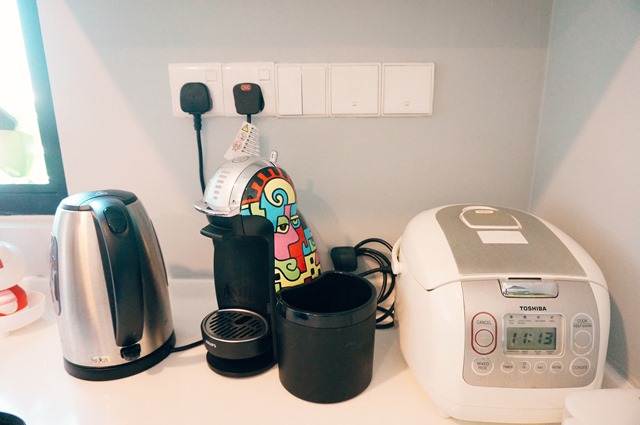
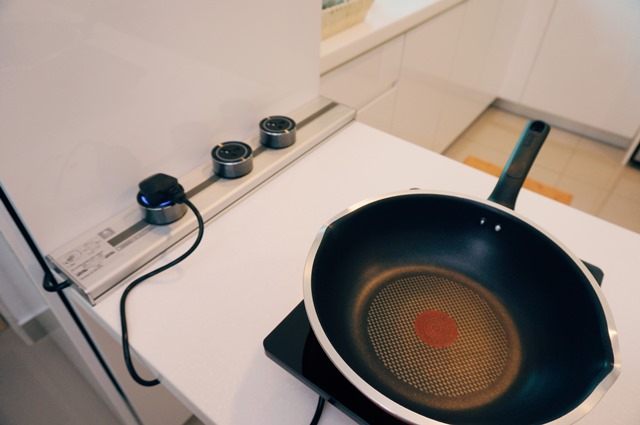
Last of all it was time to tackle our kitchen power outlets. This is a bit more time consuming as compared to the rest because we needed to integrate two light switches and a switch for our induction cooker and hood each, right into the power track as well!
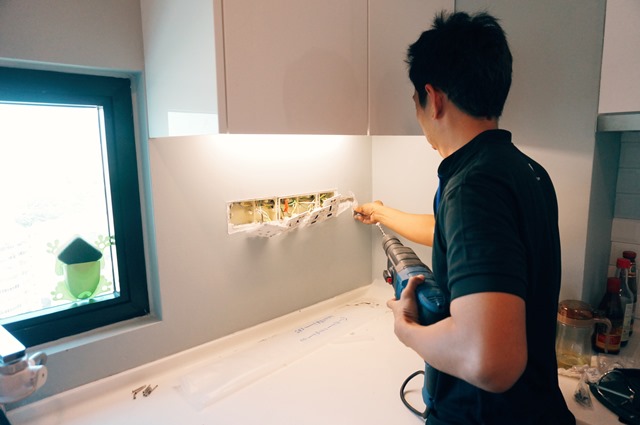
First they removed all the existing switches and drilled mounting holes for the power track.
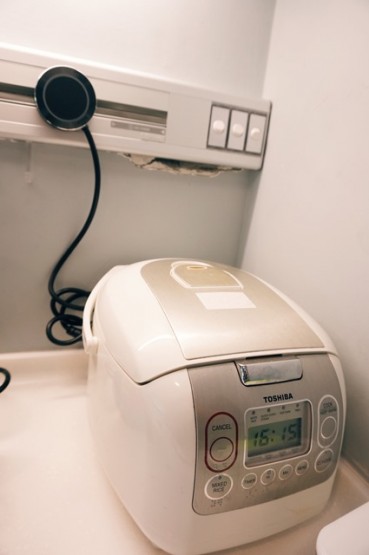
There was a small issue cause the wall and paint was a bit softer than they anticipated and a piece cracked off after they drilled the hole. Not a big deal as I quickly made a call to my trusted painter Ah Leong and he arranged to come touch it up for us! If you noticed , this power adaptor is also slight different as it has a power cord built in, where I can replace my long and ugly cord that came with my rice cooker not to mentioned save a power adaptor to use elsewhere!!!
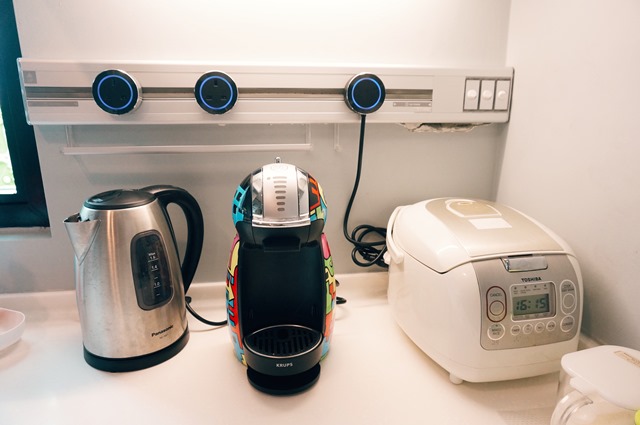
The end results! Fitment was excellent and now all my switches are smaller so I have more track to use. The Eubiq power tracks support up to 30 amps so no worries on tripping fuses when using multiple appliances at once! This power track also comes with accessories such as a towel or tissue rack and hooks to hang stuff to! Super awesome for aunties like me!
Last weekend I also removed the Eubiq power track from my study to use it here when I was filming my cooking show as they are so pretty and looks much better than regular extensions!
Special thanks to Eubiq and their team of professional installers which made everything quick and easy! For more information on Eubiq, please visit their FB page or website, or please visit their physical stores in Midvalley or IPC Shopping Center, and most importantly, as a special promo to my readers, do mention MyEubiqHome to take 10% off of any items free consultation on installing power tracks for your new or current home!
♥
Leave a Reply